Overwriting an Existing File in Modern Campus CMS
When you have a revised version of a file to post to your website, the easiest approach is to overwrite the file. The new file must have the exact filename as the current file on the live web server.
Note: For uploading new files, see also "Link and Upload Files While Editing in Modern Campus CMS."
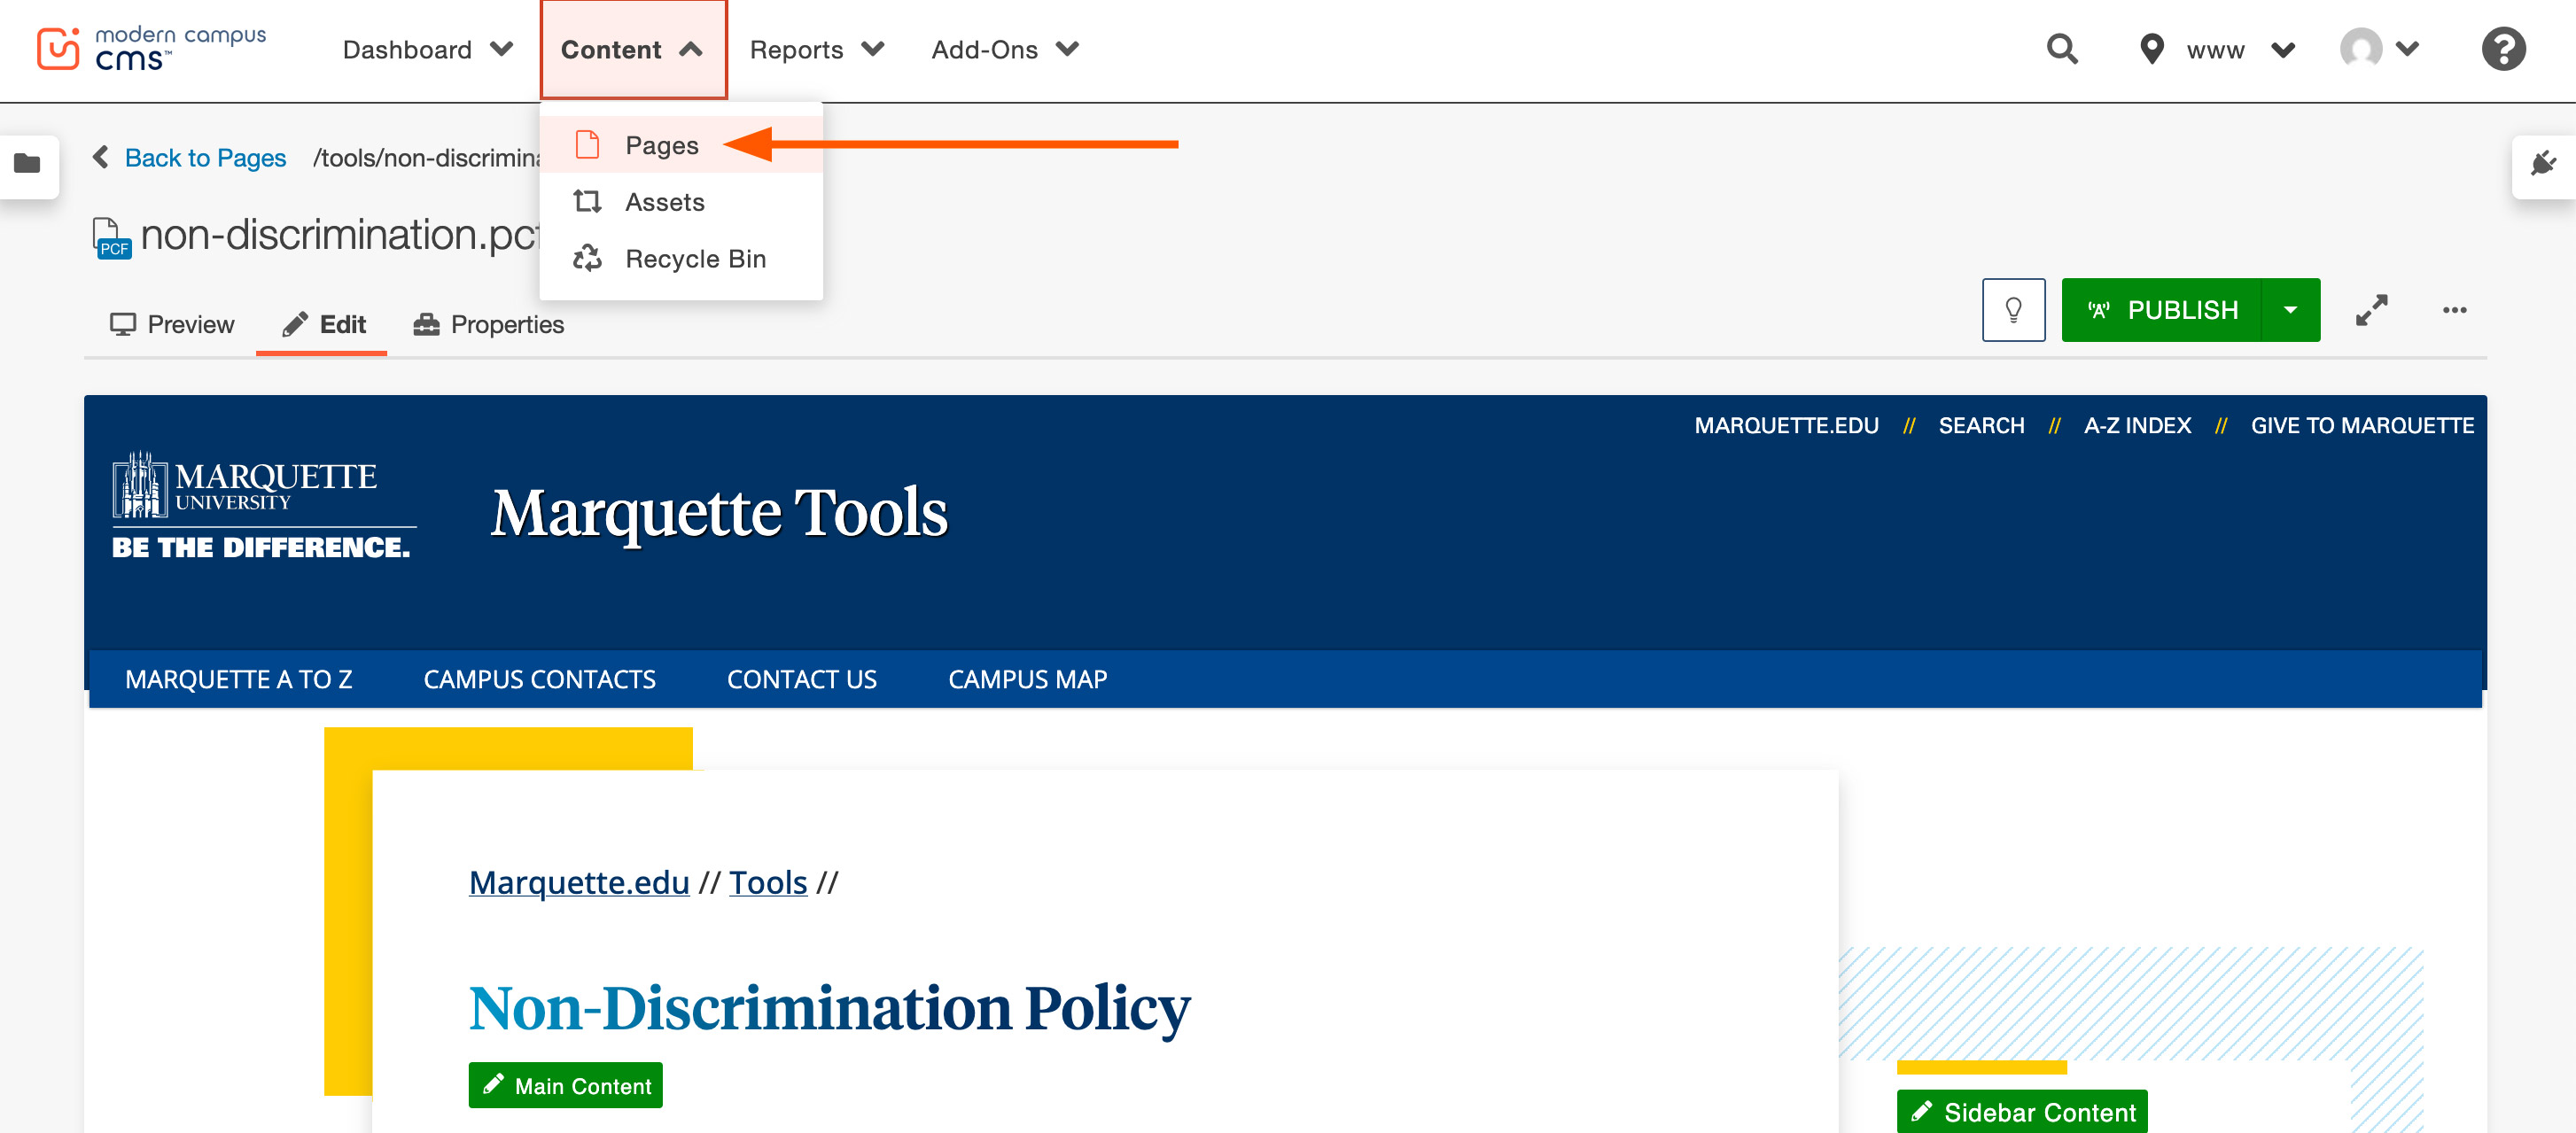
- Log in to Modern Campus CMS. If you're on a CMS page, switch to the "Pages View." In the CMS top navigation menu, select Content > Pages.
- The "Pages View" appears, listing files and folders. Go to the folder — documents or images — containing the file. For this example, we'll overwrite a PDF in the documents folder. If the file were an image, you'd go to the images folder.

- The document folder "Pages View" appears. Confirm the current file is listed. For this example, testing.pdf will be replaced. Click or tap the Upload button.

- The "Upload to" prompt appears. Click or tap the Add button.

- The CMS prompts you to select files from your device. Navigate to the file. Again, the revised filename must be identical to the live version you are seeking to update. Select the file and click or tap Open. (Instead of using the Add button, you can also drag and drop a file from your device to the "Upload to" prompt.)
- The filename appears in the upload list. Note that the CMS warns you in red: "Filename is already in use." (If not, the updated filename does not match the current filename. Use the three-dots menu to select "Rename" to adjust the filename.) Select the "Overwrite Existing" checkbox.

- Once selected, the "File already in use" warning clears. The CMS activates the "Start Upload" button. Click or tap the Start Upload button.

- The file updates on the CMS server — but not on the live web server. To see the most recently updated CMS server files in the folder, click or tap the Modified column header.

- The "Pages View" file list sorts by the most recently updated files. Identify your updated file and select its adjacent checkbox.

- The Publish option appears. Click or tap Publish.

- The Publish prompt appears. Enter a version description. Click or tap the Publish button.

- The CMS publishes the page to the live web server. You'll see a temporary notification on the lower left, announcing the file published. Click or tap the "View in new window" link on the notification.

- Review the file to confirm your update is live.
Important: If the file appears stale after publishing, clear your web browser cache. Then revisit the file to confirm the revised version is available.
Need More Help?
If you have an issue or questions about file uploads, use the CMS Help form.